Elevate Facility Safety and Brand Perception Through Professional Floor Restoration
To strip and wax a floor, you remove all old finish, dirt, and buildup down to the bare surface, then apply fresh coats of protective polymer wax to restore gloss, durability, and safety compliance.
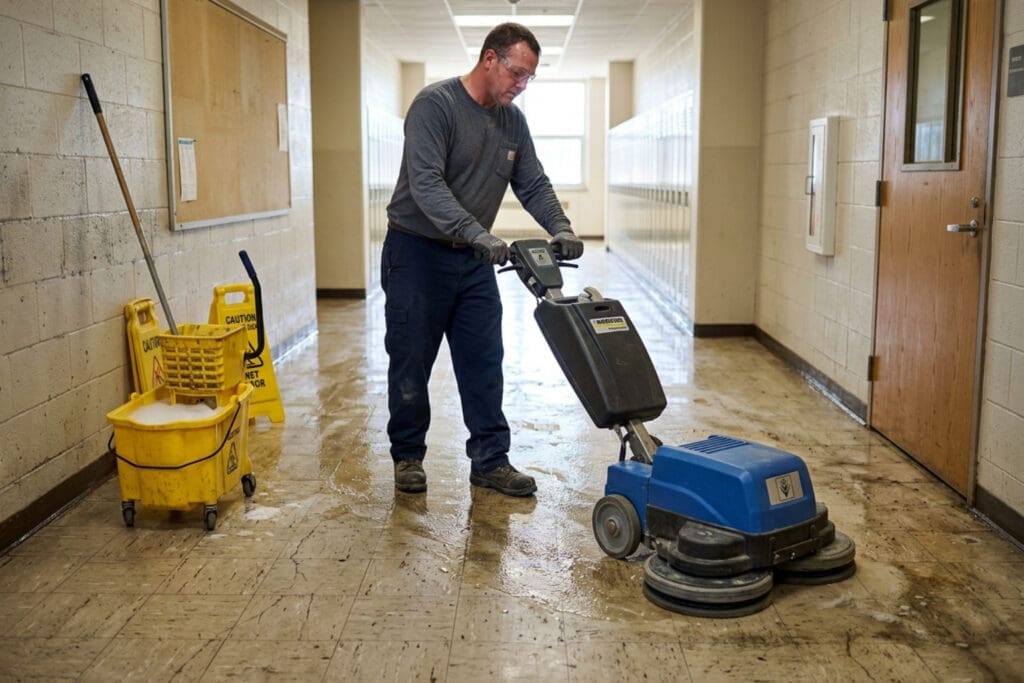
The process follows these specific steps
- Clear and prep the area – remove furniture, sweep, and post wet floor signs
- Apply a commercial-grade floor stripper – let it dwell for 5-15 minutes to break down old finish
- Scrub and extract – use a floor machine with a black stripping pad, then vacuum all residue
- Neutralize the surface – mop with a pH-balancing solution and confirm neutral pH before moving on
- Allow the floor to dry completely – use fans to accelerate drying
- Apply 3-5 thin coats of floor finish – allow 30-60 minutes of drying time between each coat
- Buff for final gloss – use a high-speed burnisher once all coats have cured
This process is standard for vinyl composition tile (VCT), linoleum, terrazzo, concrete, and rubber flooring in commercial and industrial facilities. It is not appropriate for laminate, natural stone, or polyurethane-finished hardwood.
Improperly maintained floors cost facilities thousands of dollars in premature replacements every year. A disciplined strip and wax program, performed on the right schedule with the right equipment, can cut those replacement costs by up to 60%.
I’m Dave Spinks, and after nearly three decades running Office Keepers in Indianapolis, I’ve seen how a properly executed decision to strip and wax a floor can transform a facility’s safety profile and brand perception almost overnight. In the sections below, I’ll walk you through the full commercial-grade process so you know exactly what best-in-class floor restoration looks like.
Related content about strip and wax a floor
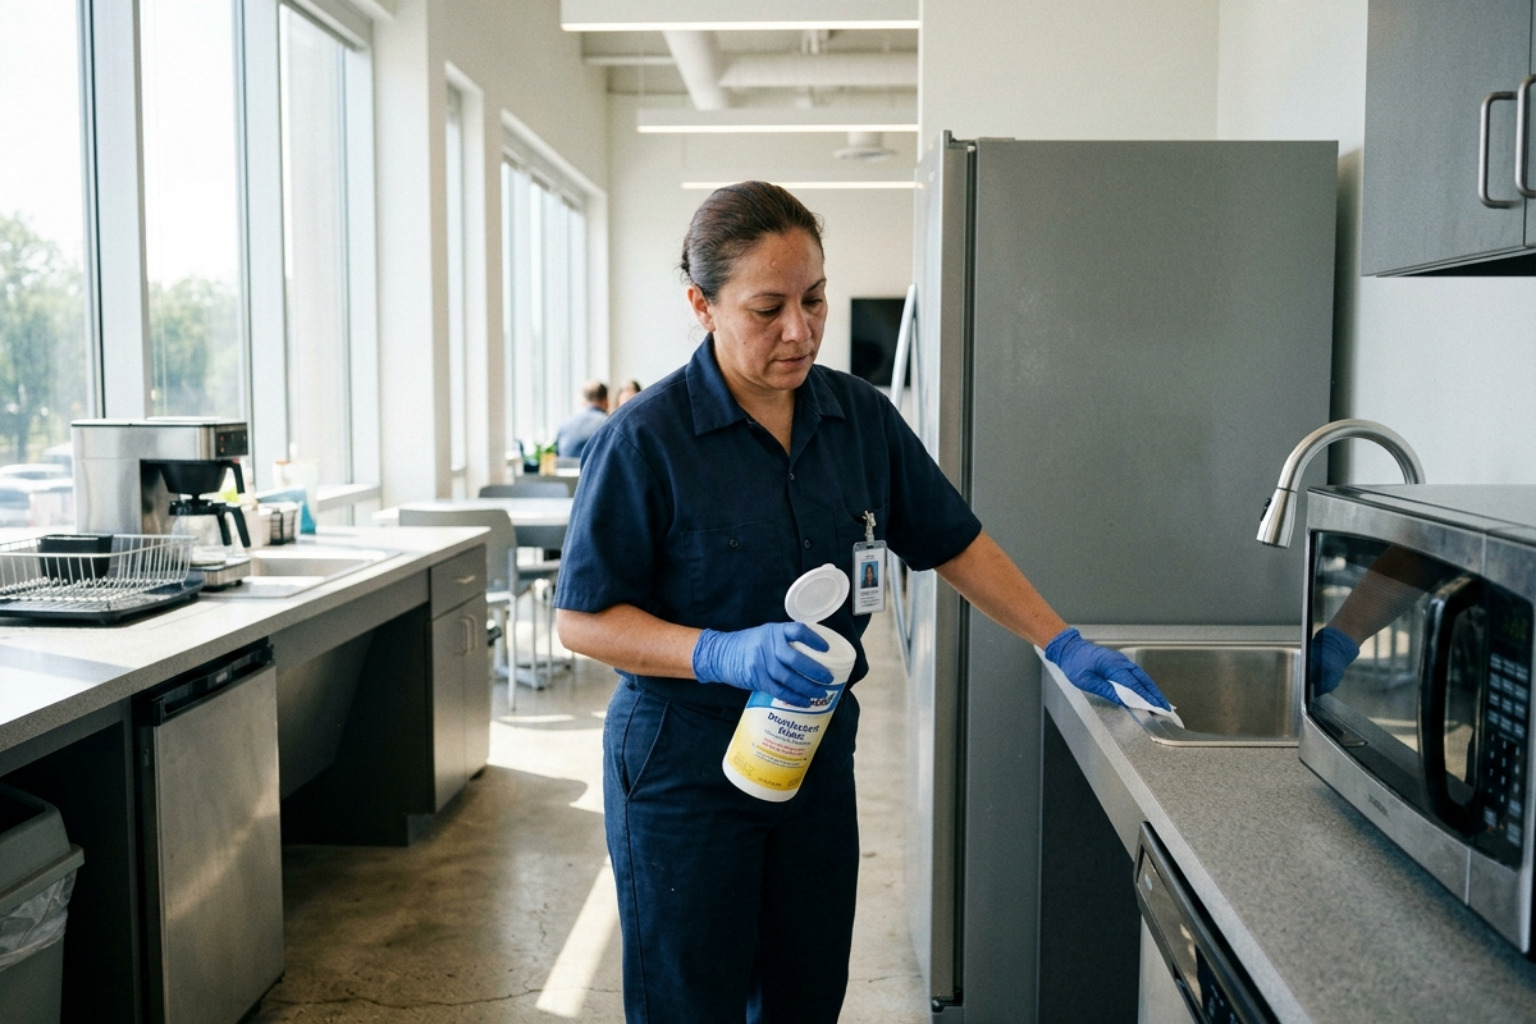
Maintaining a high-gloss finish on your facility floors is about much more than vanity. In high-stakes environments like medical centers or industrial plants in Fishers and Carmel, the state of your flooring is a direct reflection of your operational standards. When a floor is properly stripped and waxed, it creates a non-porous, smooth surface that is significantly easier to sanitize and maintain. This is a core component of Commercial Floor Cleaning that directly impacts your bottom line.
Statistically, properly maintained floors can slash replacement costs by up to 60%. Without a protective layer of polymer finish, foot traffic and heavy machinery grind dirt directly into the floor material, causing permanent damage. By investing in professional restoration, you are not just buying a shine; you are protecting a major capital asset. Furthermore, a fresh wax application improves safety by increasing slip resistance, helping your business meet ADA compliance standards and reducing liability risks.

Determine Optimal Floor Restoration Timing for Maximum Operational Efficiency
One of the most common questions we hear from facility managers in Indianapolis is whether they need a full strip and wax or a simpler scrub and recoat. A scrub and recoat is a maintenance procedure where we remove only the top layer of dirty wax and apply one or two fresh coats. This should typically be done every six months in average traffic areas. However, when the finish has yellowed, cracked, or become embedded with deep-seated grime, it is time for a full restorative strip.
| Floor Type | Maintenance (Scrub & Recoat) | Restoration (Strip & Wax) |
|---|---|---|
| VCT | Every 3-6 Months | Every 12-18 Months |
| Linoleum | Every 6 Months | Annually |
| Terrazzo | Every 6-12 Months | Every 2-3 Years |
| Concrete (Sealed) | As needed for gloss | Every 2 Years |
For older facilities, knowing The Secret to Cleaning Old Vinyl Composition Tile Like the Pros often involves recognizing when the “shiny but dirty” look has taken over. This happens when new wax is applied over dirt because the previous cleaning was insufficient. At that point, the only resolution is to “strip it to the bone” and start over.
Implement Key Diagnostic Tests to Assess Floor Finish Integrity
We use a “key test” to determine how much life is left in your floor finish. By gently scratching a small, inconspicuous area in a high-traffic zone, we can see if the finish is thick enough to protect the tile or if we are hitting the raw material. If the scratch produces a fine white powder, there is still finish to work with. If it reveals the bare floor or creates a deep gouge, the protection is gone.
Visual indicators also guide our timing. We look for “traffic lanes” where the gloss has completely disappeared, or edges and corners where wax has built up and turned a dark, amber color. If scuff marks no longer buff out with a high-speed machine, it is a clear sign that the dirt is trapped under the top layer of wax.
Identify Compatible Flooring Materials for Professional Refinishing Success
Not every floor is a candidate to strip and wax a floor. Vinyl Composition Tile (VCT) is the industry standard for this process, but we also successfully refinish concrete, rubber, and industrial cork. Each material requires a specific chemical approach. For instance, the alkaline strippers used on VCT can damage certain natural stones or poorly sealed wood.
In our work across Zionsville and Noblesville, we always verify the material compatibility before the first drop of chemical hits the floor. We avoid waxing laminate, as the moisture can cause the core to swell, and we never wax polyurethane-finished hardwood, as the wax will fail to adhere and create a dangerous, peeling mess.
Implement a Precise Four-Stage Stripping Protocol for Complete Contaminant Elimination
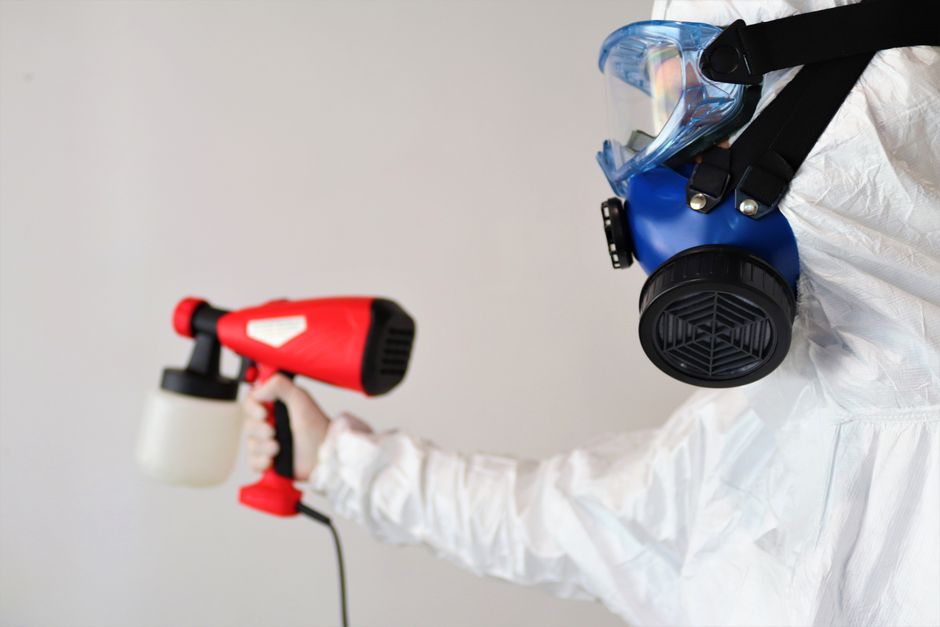
The stripping phase is the most labor-intensive part of the project. We utilize a systematic four-stage process to ensure every milligram of old wax is removed. First, we apply a high-potency, commercial-grade stripper. This isn’t something you’ll find at a hardware store. It is a specialized chemical designed to liquefy cross-linked polymers. We allow a dwell time of 5 to 15 minutes, ensuring the solution stays wet so the wax doesn’t re-adhere to the floor.
Next, we use a low-speed (175 RPM) floor machine equipped with a black stripping pad or a Tynex brush. Using Why Your Business Needs a Commercial Floor Waxing Machine with weighted plates can cut scrubbing time by 40%, allowing us to move through large warehouses or hospital wings efficiently while maintaining OSHA floor safety standards. Our technicians wear full PPE, including non-slip boots and chemical-resistant gloves, to handle these powerful agents safely.

Achieve Optimal Surface Neutralization to Prevent Haze and Maximize Adhesion
The most critical step that many inexperienced crews skip is neutralization. Floor strippers are highly alkaline. If you apply fresh wax directly onto an alkaline surface, the wax will fail to bond, resulting in a dull, powdery haze. In fact, 63% of failed DIY stripping jobs develop haze specifically because the neutralization step was ignored or rushed.
We use litmus strips to test the floor’s pH after rinsing. Our goal is to bring the surface back to a neutral state (pH 7) using a specialized acid-neutralizing solution. We mop and rinse until the water runs crystal clear. Only when the pH is balanced can we guarantee the molecular bond required for a long-lasting finish.
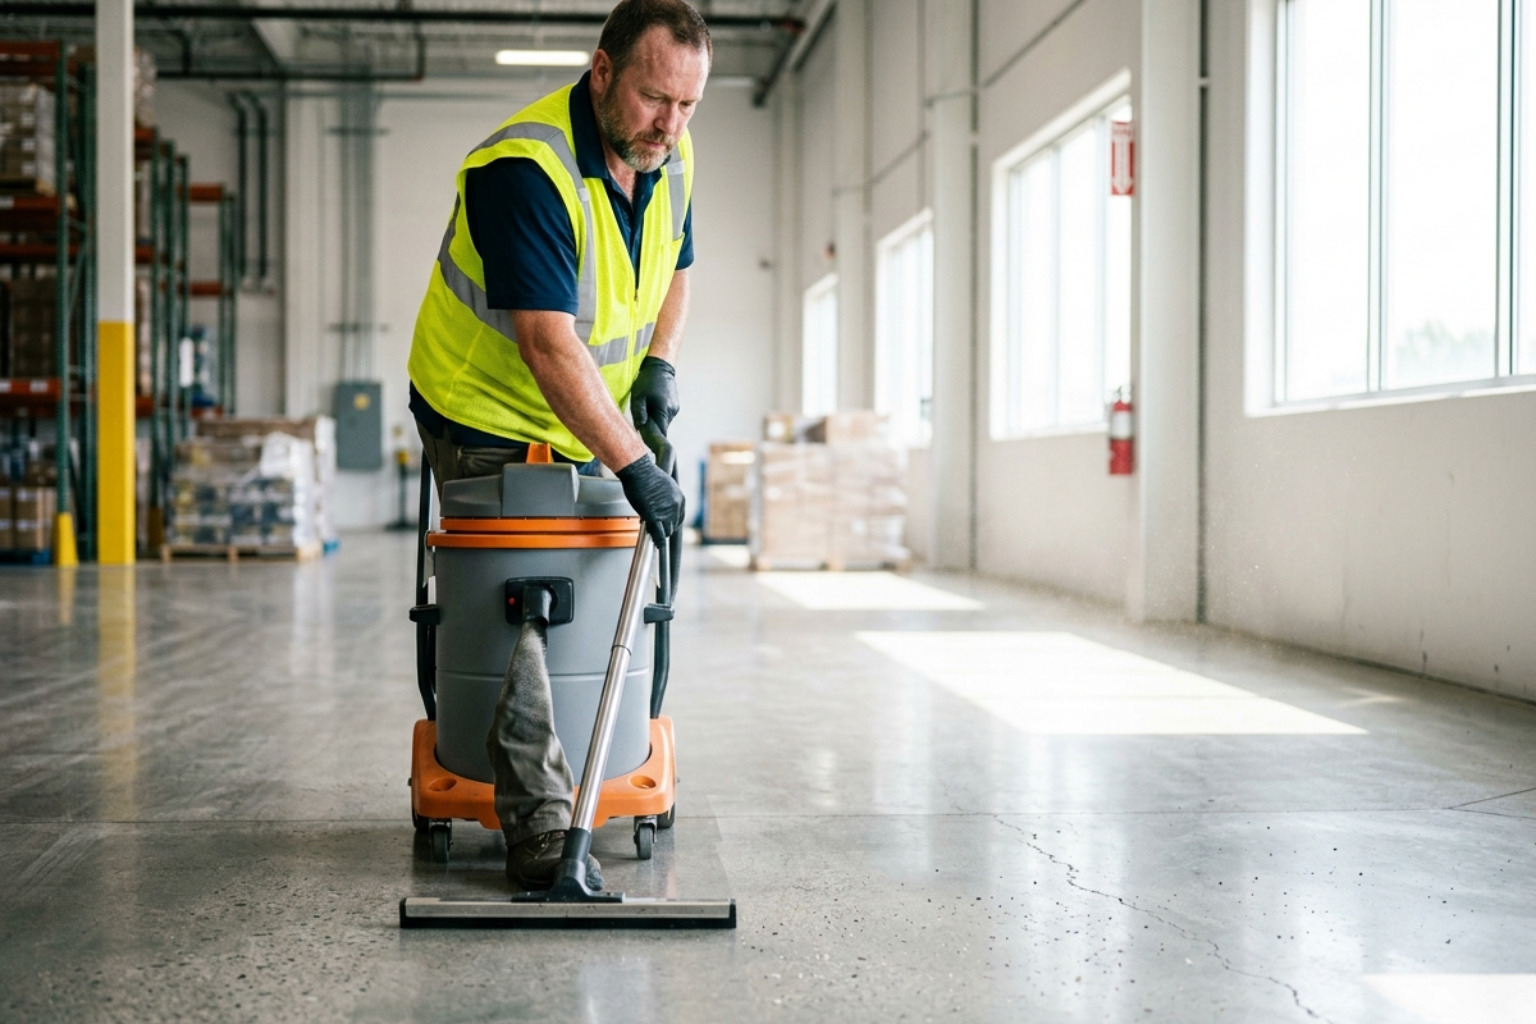
Deploy Specialized Equipment for Superior Results in High-Stakes Industrial Settings
In high-stakes environments like manufacturing plants in Greenwood or medical labs in Castleton, we deploy auto-scrubbers that simultaneously scrub the floor and vacuum up the waste. This ensures that the dirty stripper solution is extracted immediately, preventing it from soaking into grout lines or under baseboards.
For floors with heavy buildup, we use Tynex brushes. One of these professional-grade brushes can last as long as 200 standard floor pads, providing a more aggressive and eco-friendly way to reach into the pores of concrete or textured tile. This level of equipment optimization is what separates a professional restoration from a standard cleaning.
Apply Advanced Polymer Coatings for Enhanced Durability and Extended Floor Life
Once the floor is stripped, neutralized, and bone-dry, we begin the “coating architecture.” We don’t just “mop on some wax.” We apply a specific sequence of layers designed for maximum durability. We often start with a sealer coat, especially on porous VCT or concrete, to fill the microscopic pores and create a flat “tabletop” surface for the finish to sit on.
We apply the finish in a crosshatch pattern—applying one coat side-to-side and the next front-to-back. This ensures 100% coverage and eliminates thin spots. For high-stakes facilities, we use finishes with built-in slip resistance to ensure ADA compliance. You can learn more about the technical details of our Floor Stripping and Waxing services to see how we tailor these applications to your specific industry.
Optimize Drying Protocols to Preserve Coating Integrity and Accelerate Operational Readiness
Patience is the most important tool during the waxing phase. Every 5-degree drop in temperature below the 65-75 degree Fahrenheit range can increase drying time by 30 minutes. We monitor the floor surface temperature with infrared thermometers to ensure the conditions are perfect for curing.
We never use heaters to force-dry wax, as this can create micro-fissures in the finish, leading to premature peeling. Instead, we use high-volume air movers to maintain consistent airflow. Each coat typically takes 30 to 60 minutes to become “tack-free,” but the floor requires a full 24 hours to cure before heavy furniture can be moved back into place.
Specify Optimal Coating Layers for Maximum Surface Protection and Gloss Retention
For a standard office in Westfield, 3 coats of high-solids finish might be sufficient. However, for a high-traffic retail space or a 24-hour medical facility, we recommend 5 coats. The first two coats act as the foundation, the middle coats provide the “depth of image” (shine), and the top coat serves as the sacrificial layer that takes the brunt of the foot traffic.
Applying too many coats can be just as bad as applying too few; excessive layers can lead to a soft finish that scuffs easily. Our expertise allows us to calibrate the exact number of layers needed to balance your budget with the required durability of your specific facility.
Establish a Proactive Maintenance Matrix to Significantly Extend Floor Lifespan
A professional strip and wax is an investment that should last. By following a proactive maintenance matrix, you can extend the life of your wax from 6 months to 18 months or longer. The key is regular high-speed burnishing. Quarterly burnishing re-melts the top layer of polymer, smoothing out scratches and restoring the high-gloss shine without needing to add more chemicals.
Proper daily care is equally vital. We always recommend using pH-neutral cleaners for damp mopping. Harsh, acidic, or highly alkaline cleaners will eat away at the wax, dulling the shine and shortening the lifespan of the restoration. Understanding How Floor Waxing Enhances Safety and Reduces Liability for Your Indiana Business involves recognizing that a clean, well-maintained floor is a safe floor.
Calibrate Maintenance Schedules Based on Facility Traffic and Operational Demands
Maintenance schedules must be tailored to the specific load of the building.
- Commercial Offices – Annual strip and wax with semi-annual scrub and recoats.
- Manufacturing/Industrial – Quarterly strip and wax due to heavy machinery and chemical exposure.
- Medical Facilities – Frequent burnishing to maintain a non-porous, easy-to-disinfect surface.
By sticking to these schedules, you prevent the floor from ever reaching the point of no return, where the underlying tile is damaged. This proactive approach is how we help our partners in Indianapolis and surrounding areas manage their facilities with zero surprises.
Essential Insights on Professional Floor Care for Facility Managers
How many coats of wax are required for high-traffic industrial areas?
For industrial settings with heavy foot traffic or pallet jack use, we typically apply 5 coats of high-solids polymer finish. This provides a thick enough “sacrificial layer” to protect the tile for an entire quarter before a scrub and recoat is required.
What is the standard drying time between finish applications?
Under ideal conditions (70 degrees Fahrenheit and 50% humidity), each coat takes approximately 30 to 45 minutes to dry. However, we wait until the floor is completely tack-free before applying the next layer to prevent “dragging” the previous coat, which causes streaks.
Which commercial floor types are unsuitable for traditional waxing?
You should never wax natural stone (like unpolished granite or marble), ceramic or porcelain tile, or any floor with a factory-applied polyurethane or UV-cured coating. Waxing these surfaces often leads to adhesion failure and a slip hazard.
Transfer Your Floor Care Burden to a Trusted Local Partner for Uninterrupted Operations
Managing a facility is a heavy lift, and your flooring shouldn’t be another source of stress. At Office Keepers, we have spent nearly 30 years perfecting our floor restoration protocols for the Indianapolis business community. Because we use an in-house team of background-checked employees rather than subcontractors, we offer a level of stability and accountability that national franchises simply cannot match.
We invite you to stop worrying about dull, dangerous floors and start focusing on your core business. Knowing How to Pick a Floor Stripping Company That Won’t Leave You Dull is the first step toward a cleaner, safer facility. Let’s sit down for a facility-specific evaluation and a collaborative strategy session to get your floors back to their “like-new” glory.
Request a Quote from Office Keepers today and experience the difference of a locally owned, family-operated maintenance partner.